
All sourdough starters have a history behind them. A romantic tale of travel across the globe and changing hands from generation to generation, it's all very lovely. Sometimes the origins of a starter are unclear and sometimes they even cause arguments! Fact is that your starter is unique to you, so start your own history.
When your starter is alive and breathing write on it the date it was born. In years to come your descendants will tell their own tales about this very moment
Sourdough Starter
After this you'll have around 200g of sourdough starter ready to go.
Difficulty
Easy
4 days
Ingredients
Organic wholemeal rye flour
Warm water around 35°C
Method
For this you’ll need a tall, and ideally round, container like a jar or a plastic pot with a lid.
Day 1
In your pot mix together 25g of flour and 25g of water. Smell this mixture now, it’ll have a grassy smell to it. Put the lid on and leave it on the kitchen side.
Day 2
Add to your pot 25g of flour and 25g of water and mix together. Leave it on the kitchen side until tomorrow.
Day 3
Again, add 25g of flour and 25g of water to your pot and mix together.
Day 4
Add another 25g of flour and 25g of water to your pot and mix together.
In the warm months, your starter will show signs of life on day four, sometimes even by day three. If not, give another feed and wait until tomorrow.
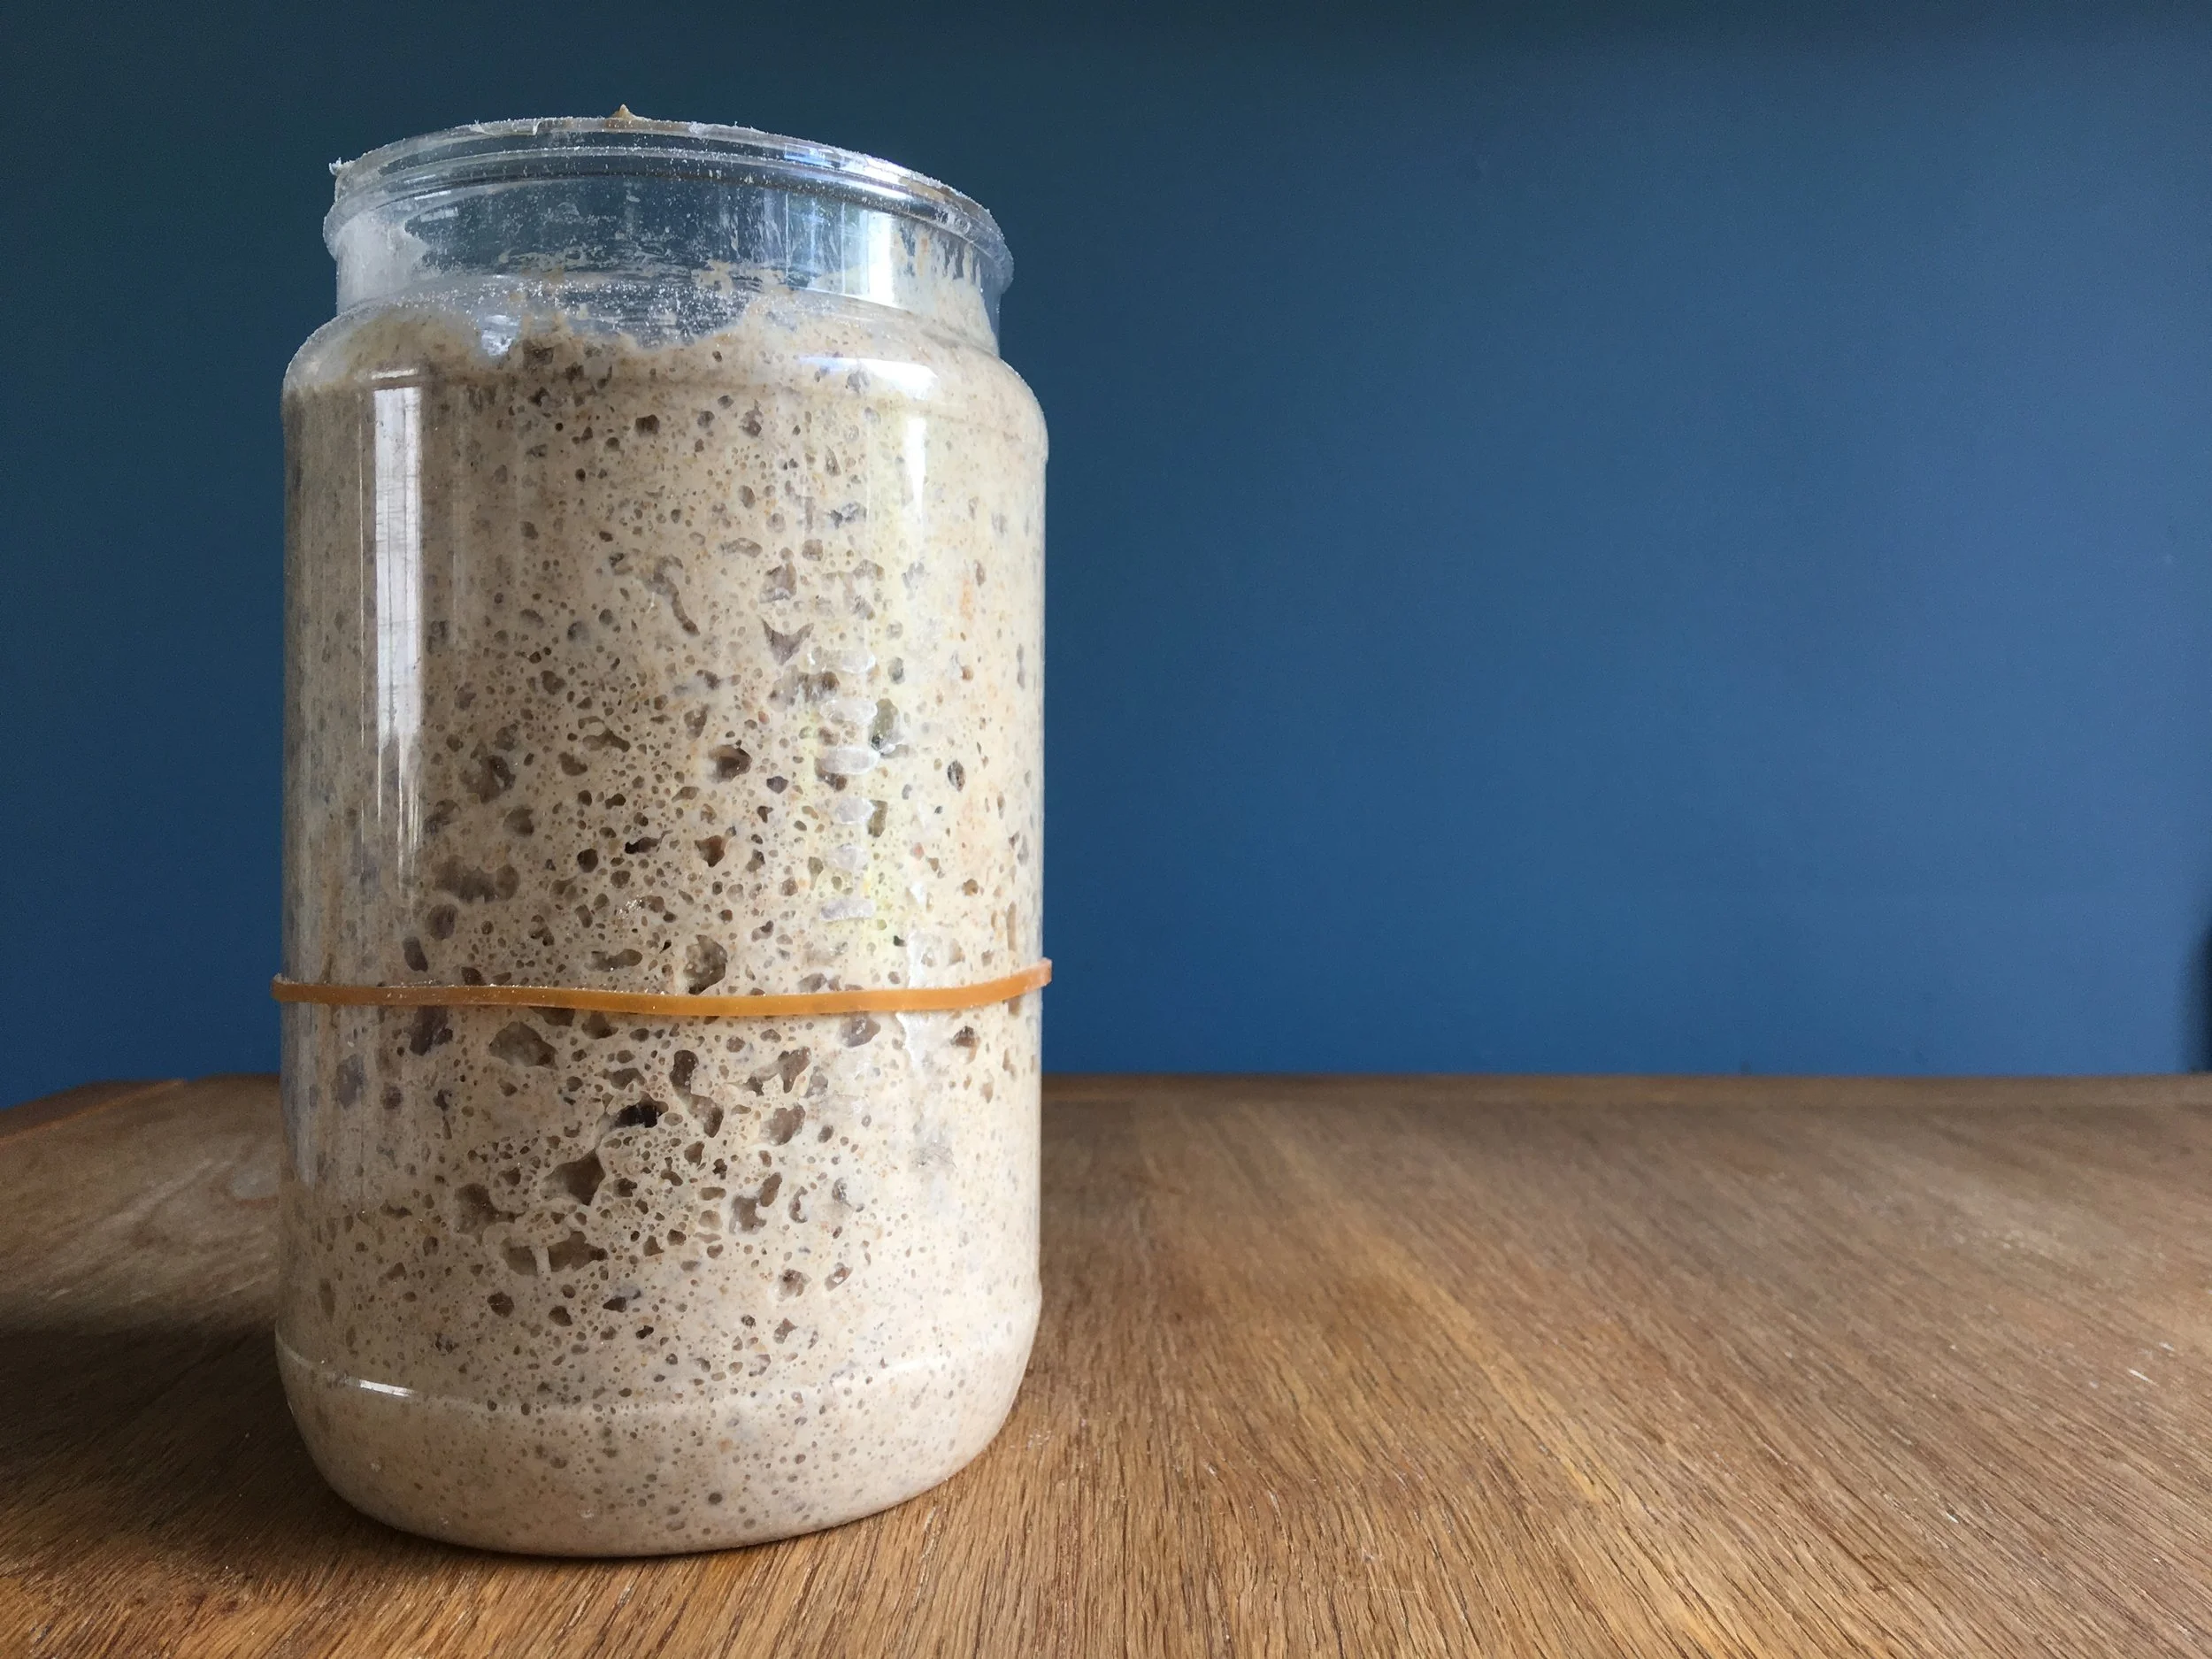
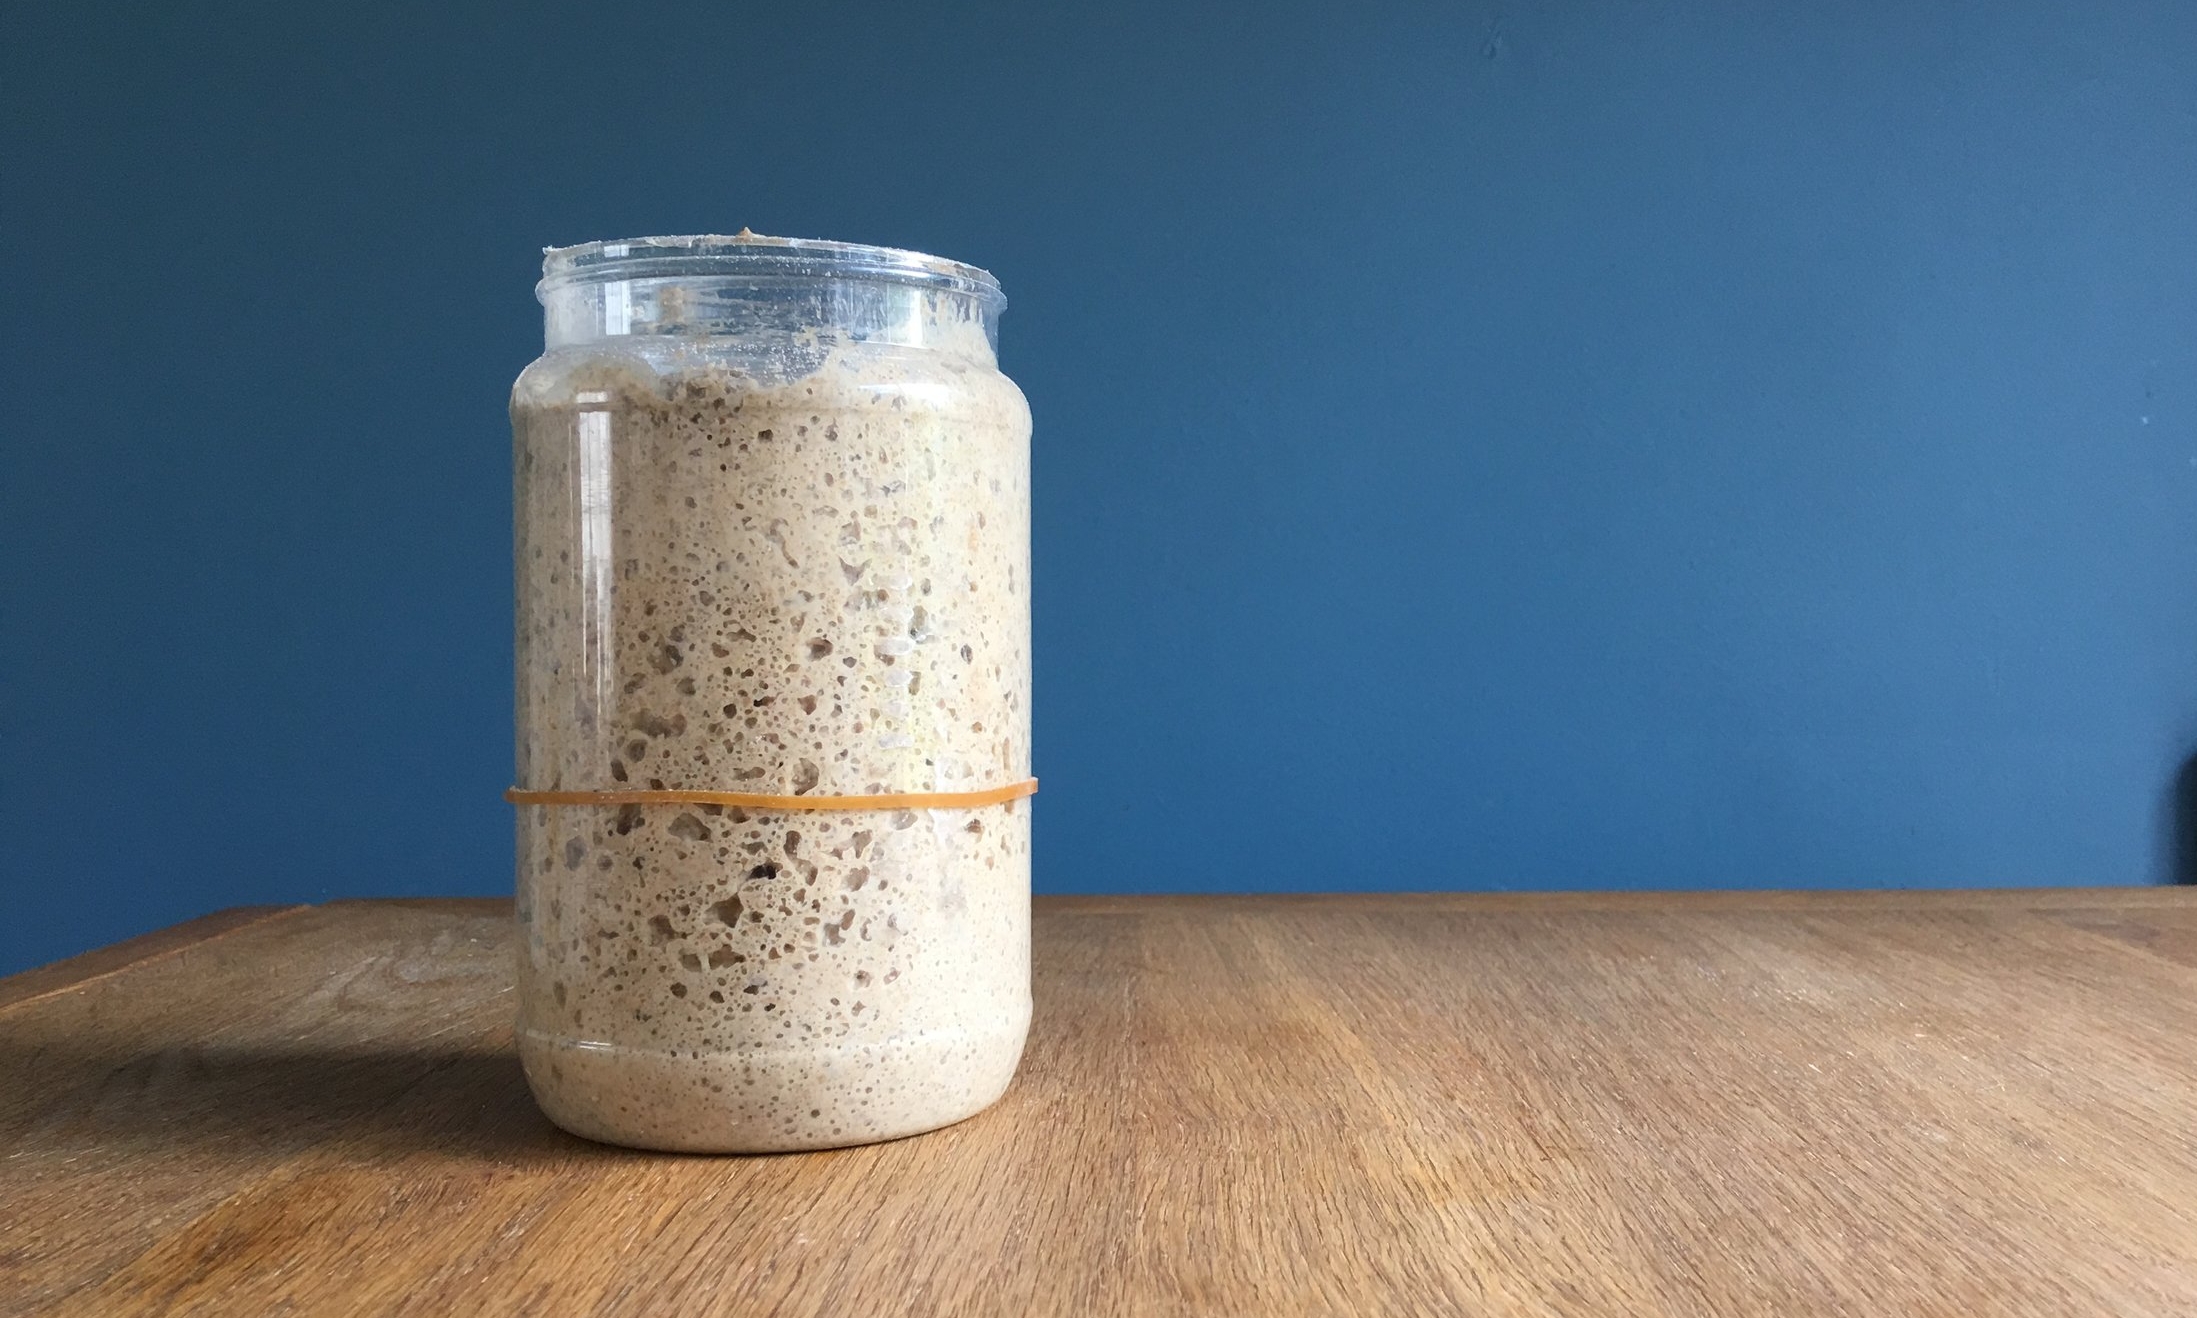
When your starter is bubbling and increasing in volume its ready to bake bread with. It will smell acidic, sometimes really strong but never particularly unpleasant. Keep it in the fridge.
If you need help with knowing your temperatures you might like a set of thermometers to help you out.